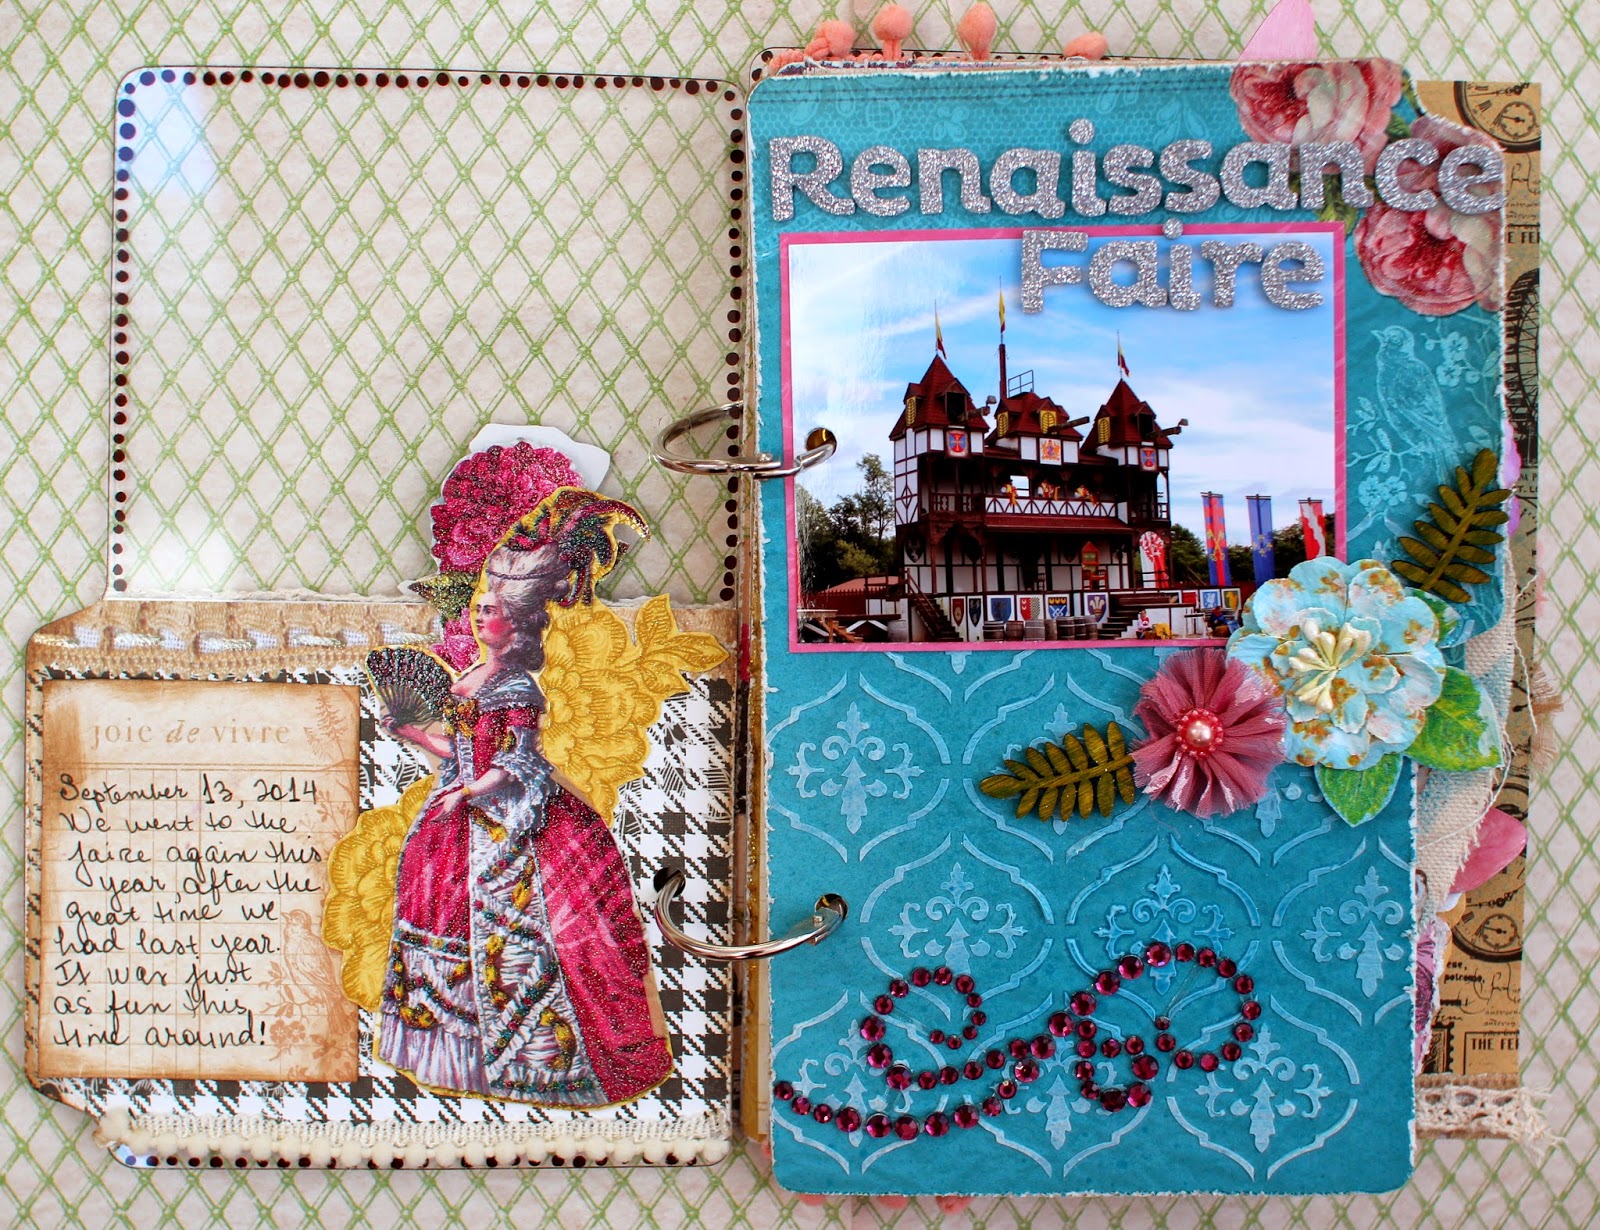
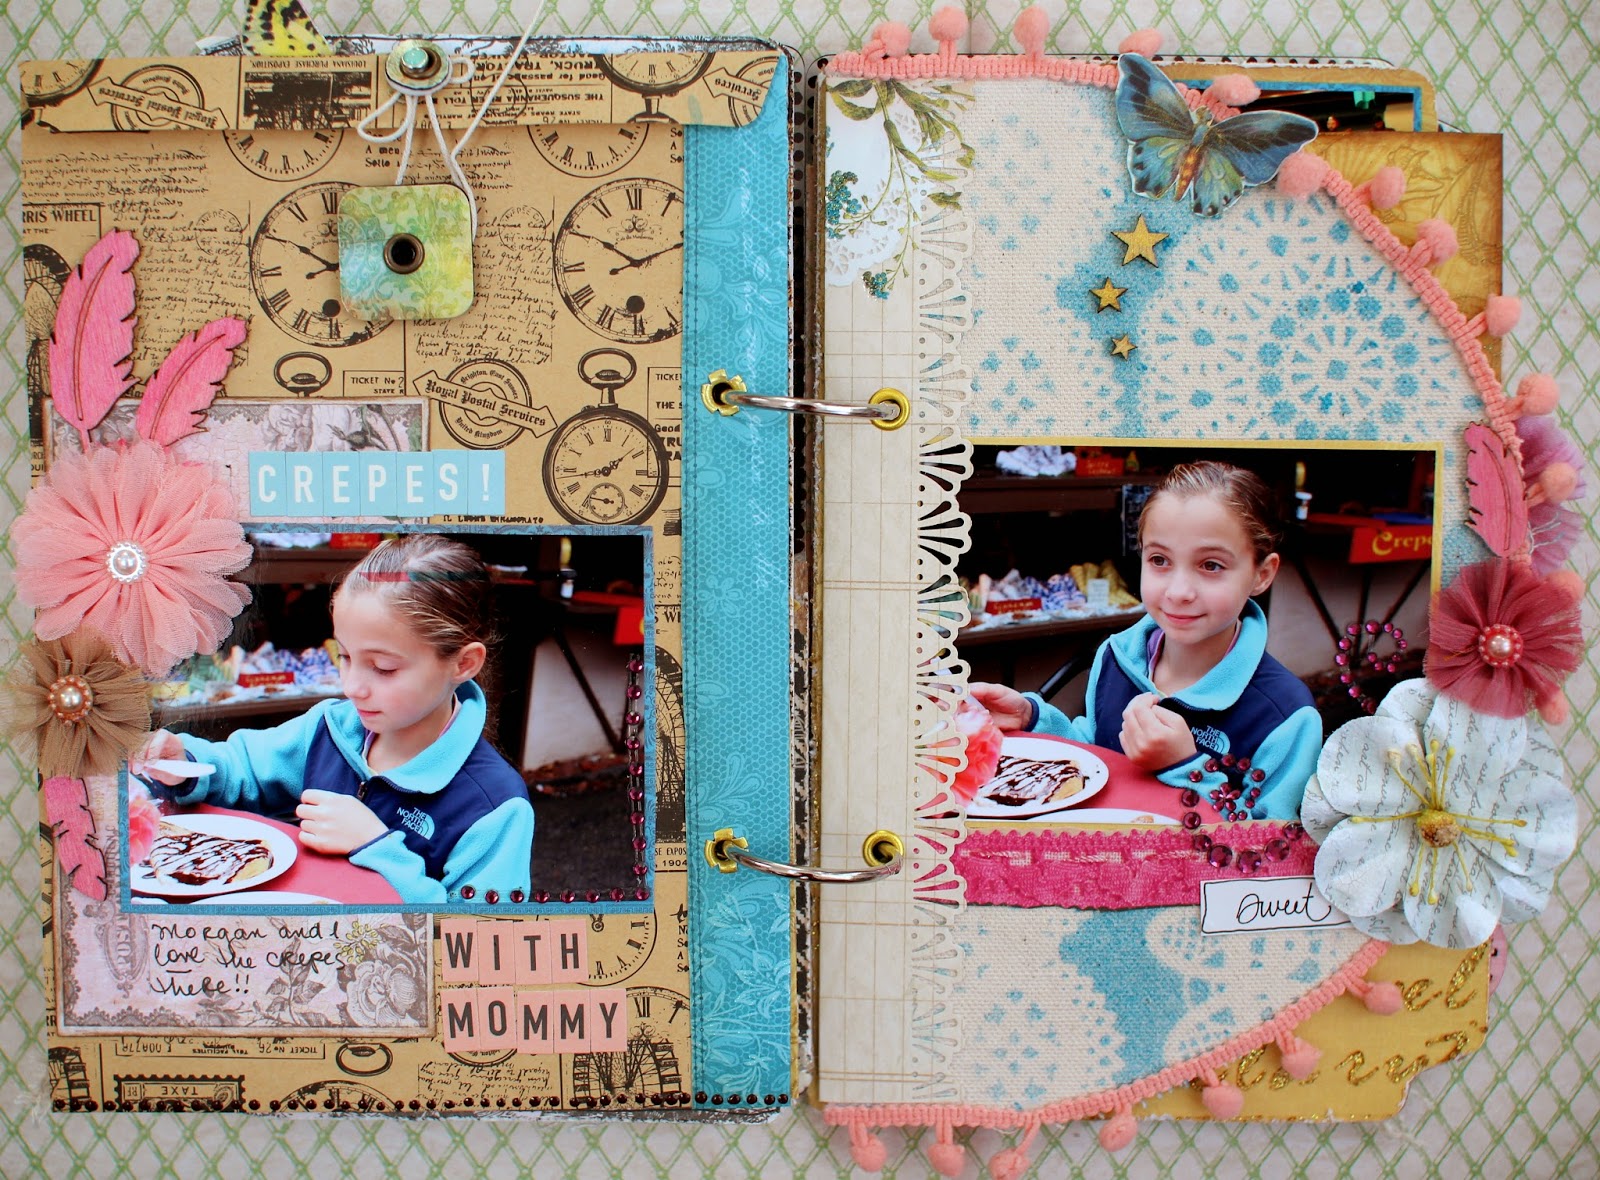
As promised, here's the mini of our trip to the PA Renaissance Faire last month. We're so lucky to be only about an hour away from it - it's one of the better ones out there, I think. We went last year and had a blast, so of course we went this year too. The "Mademoissele" stack from DCWV was SO perfect for the pics and the entire theme! I also used a lot of mixed media to add to the fun, and a mini album from Punky Sprouts that had a lot of pages of all sorts of shapes, made of canvas, chipboard, and acrylic. Fun!
Let the photo overload begin... remember, if you click on the pics, you will be able to see them much larger.
The cover was acrylic, so I left half of it bare to let the first page and the title show through. I added some dots around the edge for that cool effect you can only get with an acrylic page:
For the wooden leaves, I used my Smooch Inks to colors them:
Here, I used my new BoBunny brocade stencil and white molding paste to add a raised pattern to the page. I then misted it with Tattered Angels mist that matched the page color, to make it blend in better:
Here, I used gold Smooch inks to color the "sun" and clock wood embellishments. I also used a stencil and blue Tattered Angels spray to add the pattern onto the canvas page. Since I was working with canvas, I punched a pretty border out and added it to the page before inserting the gold eyelets - that ensures that the material won't shred or fray:
Some more colored wooden leaves here, and more of the dots that I made with a brown Pearl Pen. I also added some white Tim Holtz crackle paint to the flowers:
Here, added a BoBunny kraft paper bag and misted it with some of the blue spray, which I also used to mist the white patterned page. Inside, I'm going to keep the booklet that was the guide to the faire - it had the map, activities, etc:
Here I colored the wood embellies with some pink Smooch Ink. And more misting for the canvas page, using BoBunny doily masks! To hold the envelope closed, I used a Basic Grey closure (I think I've had that for about 10 years now... LOL):
As you can probably see, I distressed all the edges throughout the album and did a lot of inking to add to the vintage feel. And lots of ragged little flowers and lace also help that effect:
More stencils here! I used the new BoBunny "script" stencil from the Brocade set to add this gold lettering, which I used the BoBunny gold Glitter Paste for. It creates these really cool gold raised letters that are also glittery. I love how defined they are:
More dots, crackle paint, and gold smooch inks:
And for the last page, some artsy misting, and a really old metal charm.. probably had that for about 10 years now as well... so nice to free up some space for new supplies :)
Please check back in tomorrow... I'll be sharing a new LO about my son's first day of KN this year! Time flies...


No comments:
Post a Comment
I so appreciate you taking the time to comment! I love reading them!!