Saturday, October 25, 2014

October 8, 2011

Found this gorgeous BoBunny "Avenues" paper that had "October 8" all over it.. on tags, the tokens, etc. So of course I went hunting for a picture I took on October 8th, and managed to find one from 2011.
 
I used mostly BoBunny supplies: Avenues paper, embellishments, die cuts, and chipboard, as well as a BoBunny doily. I also stitched on the LO with a sewing machine, and sewed on some various buttons, and added lace for texture. I also added acrylic paint to the metal tokens to help them blend into the layout better. And if you look closely, you will see I used 3 eyelets here - embellishing embellishments with them is a great way to reduce your stash ;)


Monday, October 20, 2014

Stenciled Cards!

I made a couple really fun cards using BoBunny's new stencils. I love that the stencils stick down to the paper, so when you work with them they actually stay in place :)
 
 
For the first card, I used the Madeline collection. I also added a raised script background by applying molding paste to the stencil from the "Brocade" stencil set, and then inking it a little with BoBunny's new ink pad - it creates a very romantic effect. I finished it off by adding Pearlescents to the wooden flourishes and silver Glitter Paste to the flower. All supplies are by BoBunny.
 
Here, I used the new stencil combined with BoBunny's new glimmer spray to make the dot background, which I then traced with a sharpie - perfect for a kid card! I used the "Our Lil' Monster" collection... and added googly eyes to the monster... just for fun :) The two borders are doodled and the sentiment is from the "Surprise" collection.

Sunday, October 19, 2014

Stop and smell the roses...

I made a layout about my mom when she was young, holding a baby bunny. When I work with vintage photos, I often start by transforming them to black and white (they're typically more of a greenish-beige otherwise... not attractive), and then enhancing the blacks and whites for a sharper image.
 
This paper from BoBunny's Madeline collection was so perfect for a vintage photo. I added some Pearlescents and mists as well, and of course a bit of bling. The gold on the flowers is from BoBunny's new glitter paste.
 
(You can click on the images to see the larger version... also my blog cuts the right edges off sometimes, so by clicking on it, you can see the full picture).


I hope you enjoyed today's post. Please stop by tomorrow - I'm going to share a couple cards I made using BoBunny's new stickable stencils! They're so easy to work with :)

Saturday, October 18, 2014

Morgan did my hair....

My mom got her a book on making braids, so she's been practicing :) Oh, and she's not into scrapbooking any more (probably because I am), but she's really into cooking/baking (probably because I'm not). I'm readying myself for the teenage years. But in the meantime, I made her day by buying her a handheld electric mixer. She's planning on baking a blue cake... I'll share the results if the ingredients survive.


Friday, October 17, 2014

Card Challenge!

Today, I'm sharing a card I made to play along with the PPinkyDolls challenge. The challenge was "anything goes" or "fall colors", and I wanted to make it more of a challenge so I went with the fall colors :) They have the cutest digi stamps - you can shop for them on etsy HERE. I mean... look at her little face, isn't she the most adorable (in a slightly orphaned-creepy way) little girl! I fell in love instantly.
 
I used my Prismacolor pencils to color her up and a bunch of dies, including Spellbinders, Cheery Lynn, and Magnolia. The paper is My Mind's Eye "Lost and Found 3" 6x6 paper pad. The base cardstock is BoBunny double dot. The little wooden sentiment is Studio Calico, and the flowers are Prima and recollections.
 
The card dimensions are 6x6. You can click on the images to see better resolution/details.


Thursday, October 16, 2014

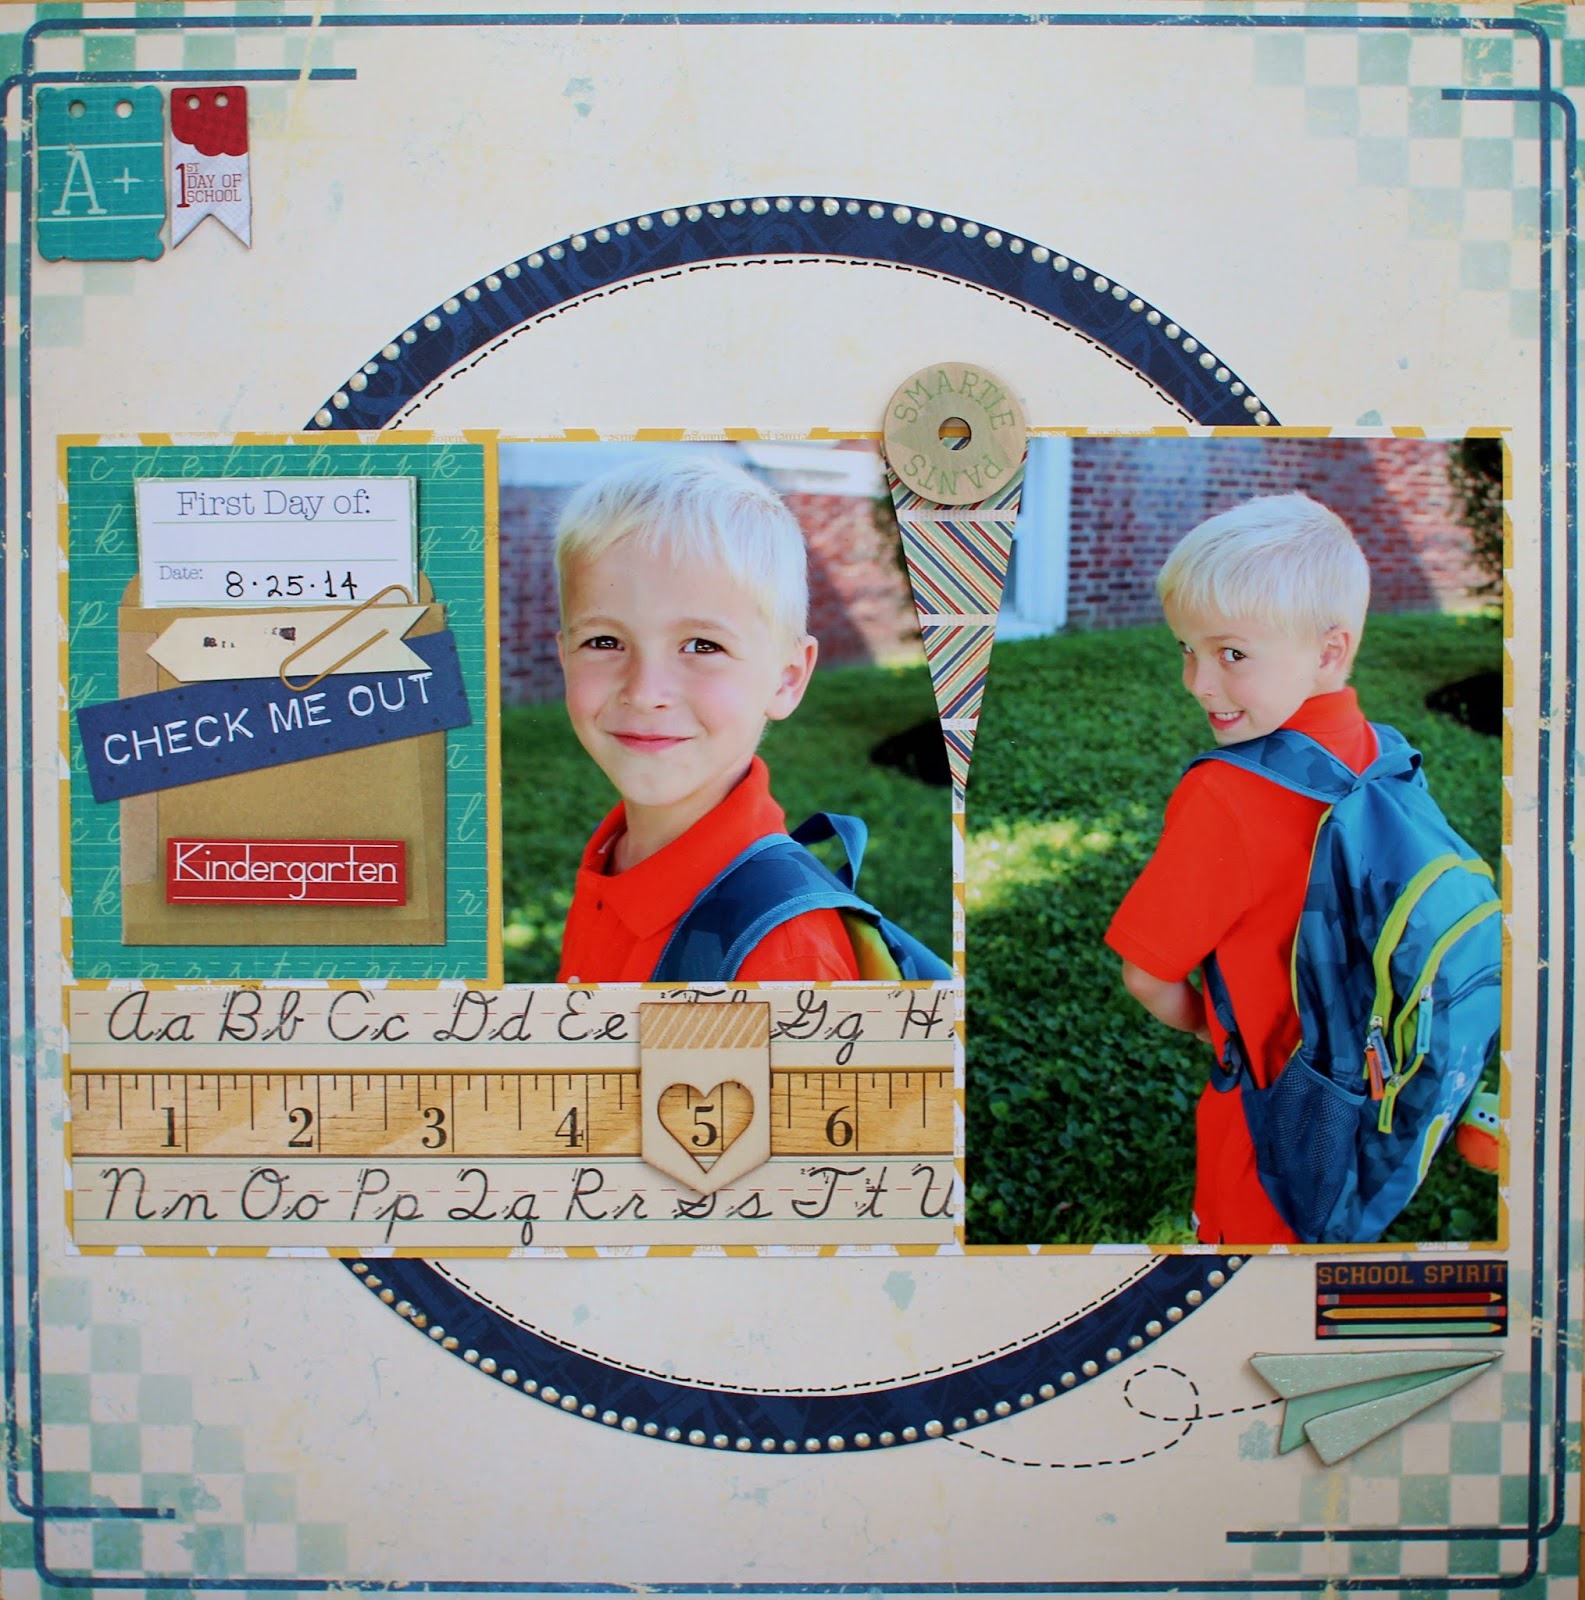
Kindergarten!.... already...?!?!?

Wow... the time has really come... here is Dexter on his first day of school this year! He did SO well and was excited that it was finally his turn to go on the yellow school bus too. Such a big boy! I used BoBunny embellishments (buttons, chipboard, etc) and papers from the "Pop Quiz" collection. The background sheet is from BoBunny's new "Wild Card" collection - the colors fit with "Pop Quiz" perfectly! I also can't stop using the new Pearlescents to make these dots everywhere... they're so addicting :) The little wooden embellishment that highlights the "5" (Dexter's age) is by BoBunny as well.


Wednesday, October 15, 2014

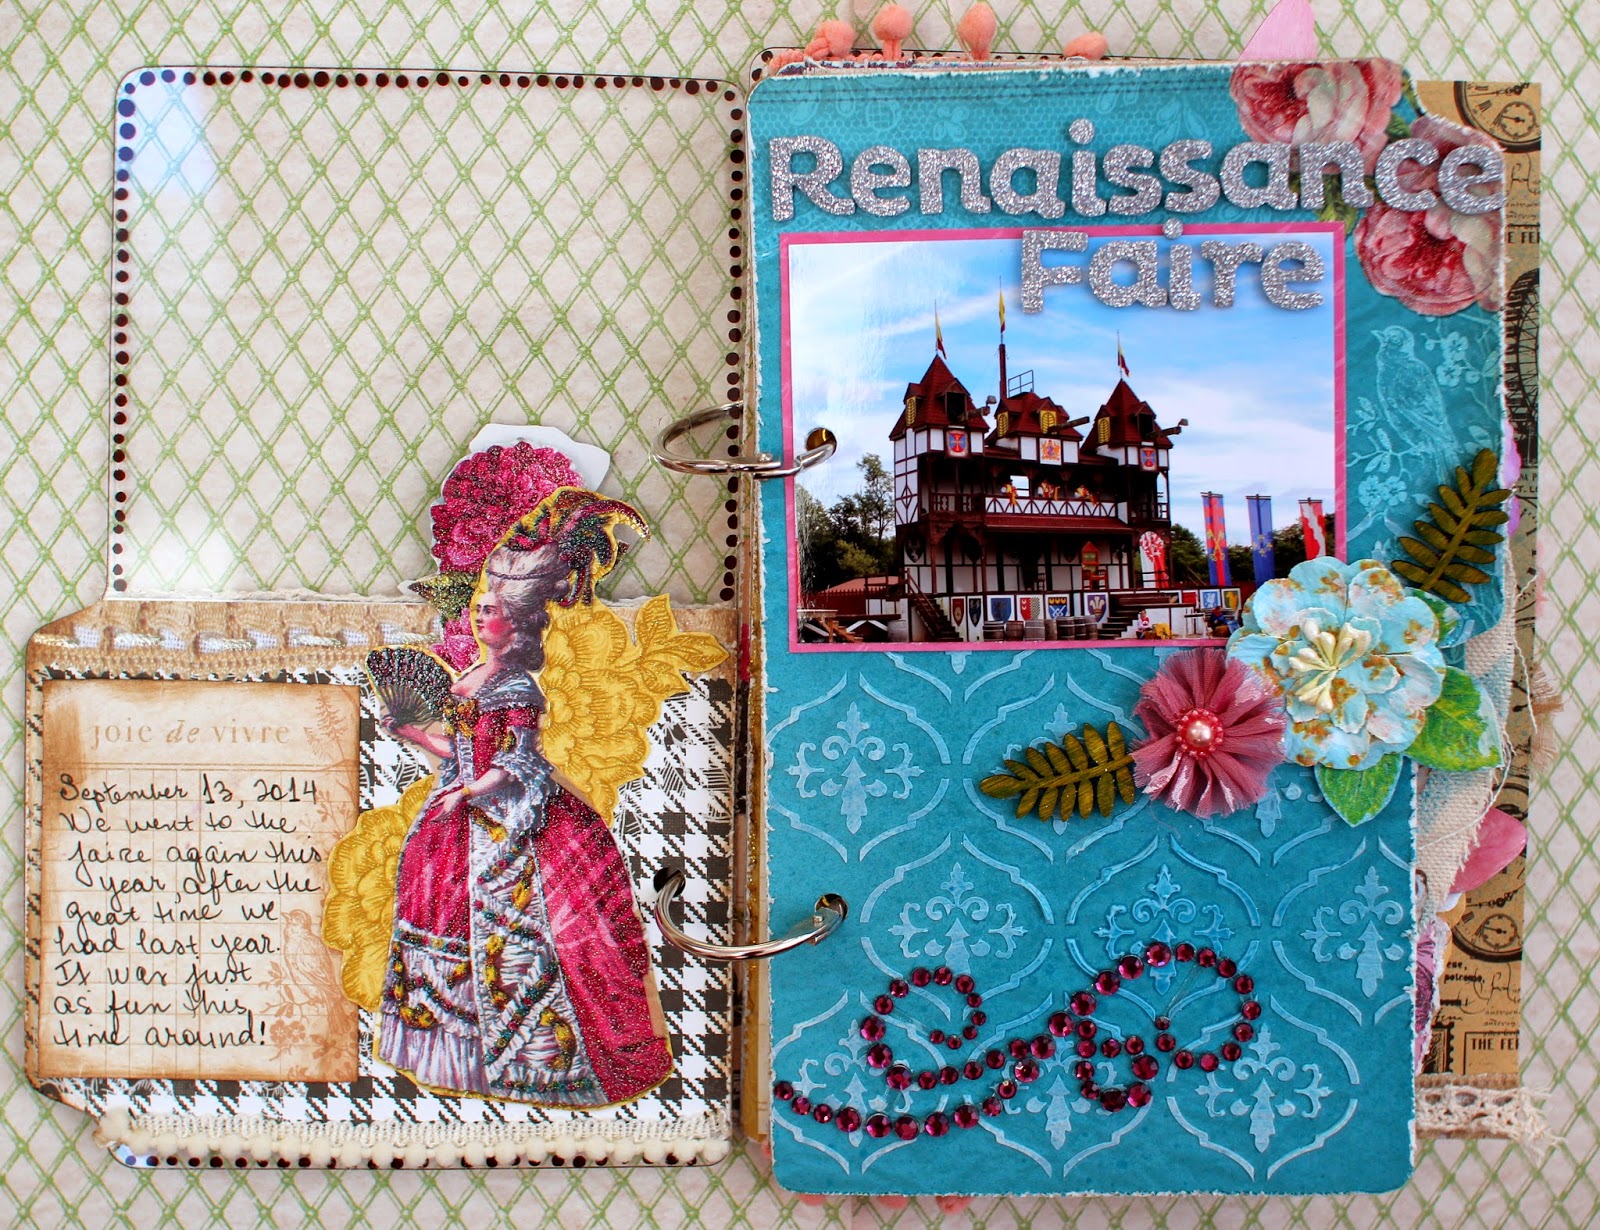
The PA Renassaince Faire! (mini album)

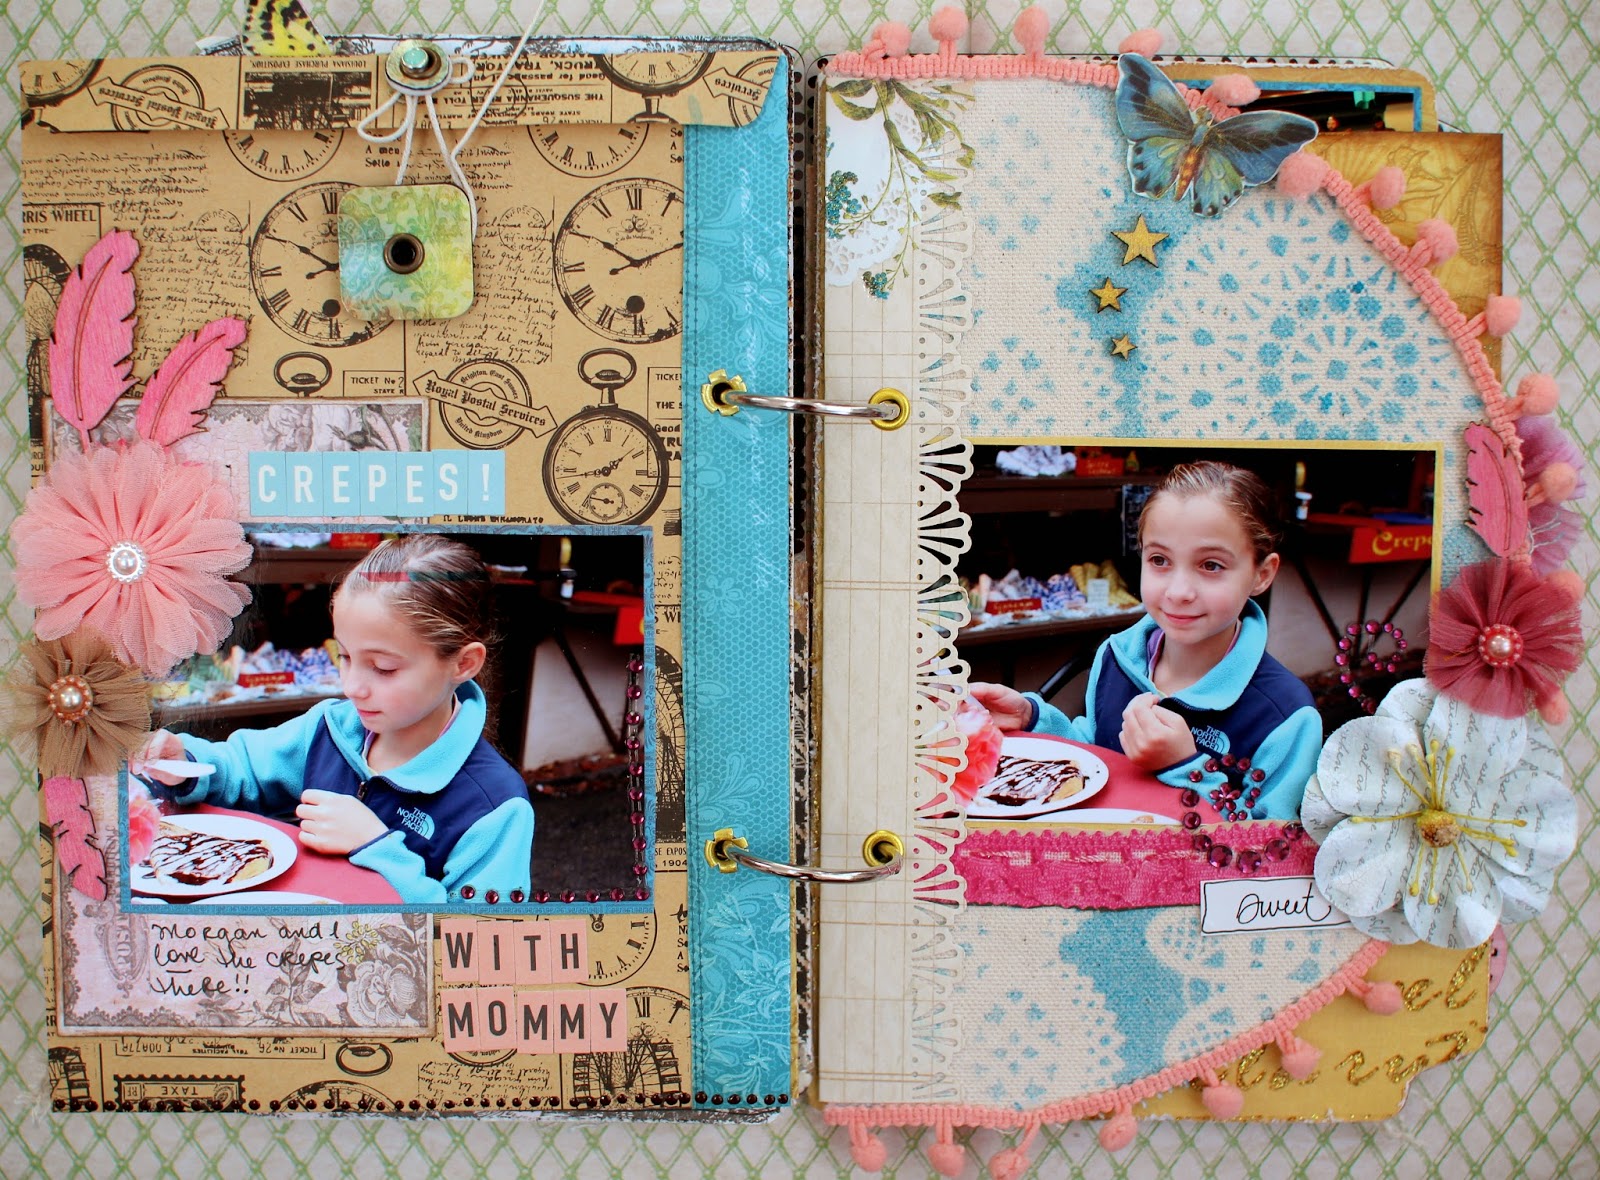
As promised, here's the mini of our trip to the PA Renaissance Faire last month. We're so lucky to be only about an hour away from it - it's one of the better ones out there, I think. We went last year and had a blast, so of course we went this year too. The "Mademoissele" stack from DCWV was SO perfect for the pics and the entire theme! I also used a lot of mixed media to add to the fun, and a mini album from Punky Sprouts that had a lot of pages of all sorts of shapes, made of canvas, chipboard, and acrylic. Fun!
 
Let the photo overload begin... remember, if you click on the pics, you will be able to see them much larger.
 
The cover was acrylic, so I left half of it bare to let the first page and the title show through. I added some dots around the edge for that cool effect you can only get with an acrylic page:
 
 
For the wooden leaves, I used my Smooch Inks to colors them:
 
Here, I used my new BoBunny brocade stencil and white molding paste to add a raised pattern to the page. I then misted it with Tattered Angels mist that matched the page color, to make it blend in better:
 
Here, I used gold Smooch inks to color the "sun" and clock wood embellishments. I also used a stencil and blue Tattered Angels spray to add the pattern onto the canvas page. Since I was working with canvas, I punched a pretty border out and added it to the page before inserting the gold eyelets - that ensures that the material won't shred or fray:
 
Some more colored wooden leaves here, and more of the dots that I made with a brown Pearl Pen. I also added some white Tim Holtz crackle paint to the flowers:
 
Here,  added a BoBunny kraft paper bag and misted it with some of the blue spray, which I also used to mist the white patterned page. Inside, I'm going to keep the booklet that was the guide to the faire - it had the map, activities, etc:
 
Here I colored the wood embellies with some pink Smooch Ink. And more misting for the canvas page, using BoBunny doily masks! To hold the envelope closed, I used a Basic Grey closure (I think I've had that for about 10 years now... LOL):
 
As you can probably see, I distressed all the edges throughout the album and did a lot of inking to add to the vintage feel. And lots of ragged little flowers and lace also help that effect:
 
More stencils here! I used the new BoBunny "script" stencil from the Brocade set to add this gold lettering, which I used the BoBunny gold Glitter Paste for. It creates these really cool gold raised letters that are also glittery. I love how defined they are:
 
More dots, crackle paint, and gold smooch inks:
 
And for the last page, some artsy misting, and a really old metal charm.. probably had that for about 10 years now as well... so nice to free up some space for new supplies :)
 
Please check back in tomorrow... I'll be sharing a new LO about my son's first day of KN this year! Time flies...

Tuesday, October 14, 2014

Is it winter yet?

Because I'm ready for some wintery pics and layouts! I won't lie, I do love snow and snowflakes, and all that good stuff. So I was in the mood to scrap a picture of the kids with their snowman a couple years ago. I used the gorgeous "The Four Seasons" stack from DCWV and a few other things from my stash. Some of them were pretty ancient, like that transparent snowman from Tattered Angels. I love mixing some older stuff with newer stuff - makes it look fresh again, and it's fun clearing up space for new supplies :)
 
Be sure to read to the end of the post - I made a card with the "Four Seasons" stack as well that I'm sharing today. And... stop by tomorrow because I made a mini album I really love, using the gorgeous DCWV "Mademoiselle" stack... I used a Punky Sprouts mini with all sorts of funky pages to scrap our trip to the Renaissance Faire this year. I'll schedule it to go live early tomorrow morning!
 
 
I used the winter paper and the valentine's day paper from the stack for this layout, as well as did some misting, added dots with a Pearl Pen, and even a tiny little light bulb embellie for the chipboard lantern. So fun!


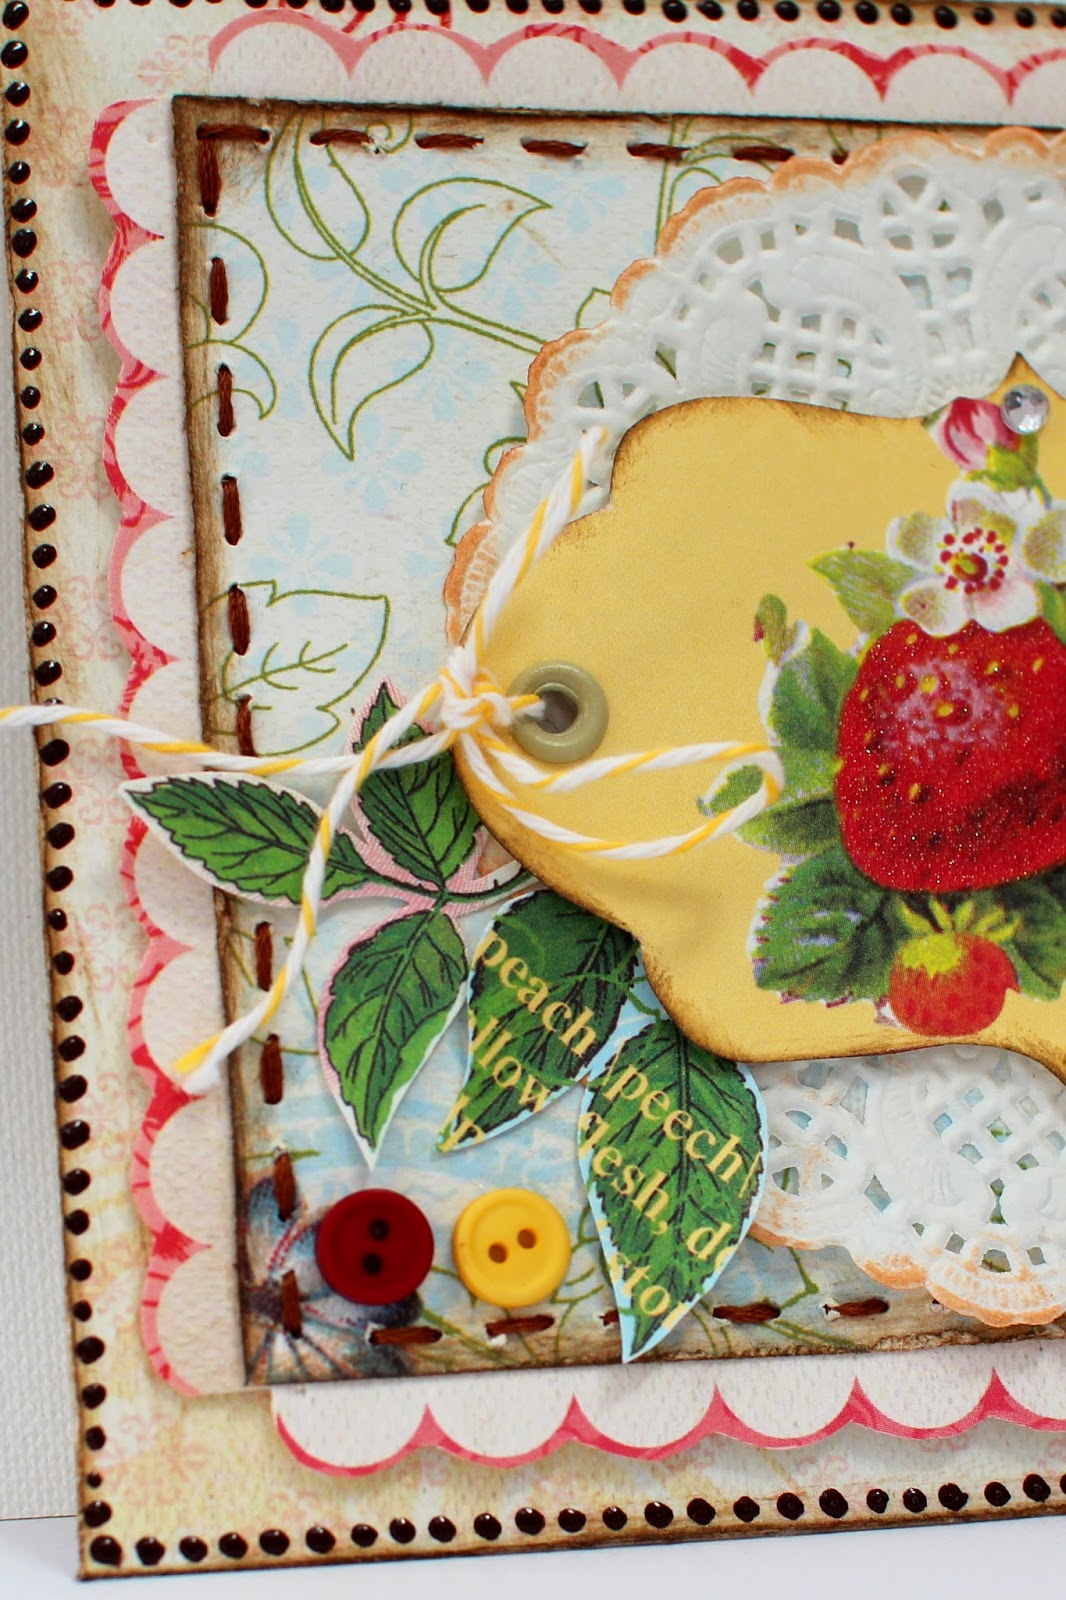
And here is the card. (Ok, the cardfront... still have to glue it on a base LOL)
 
I added some more dots, and did hand stitching, and lots of inking again. Also lots of dimensional adhesive to make things pop a bit more. I just love how a lot of the DCWV papers are glittered or have other cool effects - these butterflies were, for example, so if you fussy cut them out, they're ready to go embellies!


Saturday, October 11, 2014

BoBunny altered frame

I have a little frame I altered using the BoBunny "Enchanted Garden" collection. The frame is one of those little canvases you buy for a dollar that's pre-printed for the kids to paint on. Once your kids are done with it, you can re-purpose it for your own scrapbooking purposes :)
 
 
This is the back of it, and the sides are painted with teal acrylic paint:
 
I painted the frame teal, and then used crackle medium, and then painted over it with white - that way you get the crackle effect of the teal underneath. I added glossy crackle accents to the butterfly wings - they're kind of vintage looking this way, with the glass crackle effect.


Friday, October 10, 2014

BoBunny layout

Somehow I forgot to post this LO on my blog... I made it this summer. It's using the BoBunny collection "Somewhere in Time" - I just LOVE this paper! The images are so cool and so steampunk. And the colors are really gorgeous. I also used BoBunny flowers and crystal flourishes, and some of the embellies are from the "Zip-A-Dee Doodle" collection - so many of the collections really coordinate well together.


Thursday, October 9, 2014

BoBunny altered mixed media notebook

Today, I'm sharing a notebook I made using BoBunny papers and mixed media supplies. If you want to see step-by-step instructions and full list of supplies, they are available HERE on the BoBunny blog. 


Wednesday, October 8, 2014

BoBunny vacation layout

Hi guys, here's a companion layout to the one I made of DH (if you scroll down, it's a couple posts below). This is one of me in Egypt. I used the BoBunny "Souvenir" collection papers, stickers, and chipboard, as well as the new Double Dot Jewels and the new BoBunny mists.