Wednesday, October 15, 2014

The PA Renassaince Faire! (mini album)

As promised, here's the mini of our trip to the PA Renaissance Faire last month. We're so lucky to be only about an hour away from it - it's one of the better ones out there, I think. We went last year and had a blast, so of course we went this year too. The "Mademoissele" stack from DCWV was SO perfect for the pics and the entire theme! I also used a lot of mixed media to add to the fun, and a mini album from Punky Sprouts that had a lot of pages of all sorts of shapes, made of canvas, chipboard, and acrylic. Fun!
 
Let the photo overload begin... remember, if you click on the pics, you will be able to see them much larger.
 
The cover was acrylic, so I left half of it bare to let the first page and the title show through. I added some dots around the edge for that cool effect you can only get with an acrylic page:
 
 
For the wooden leaves, I used my Smooch Inks to colors them:
 
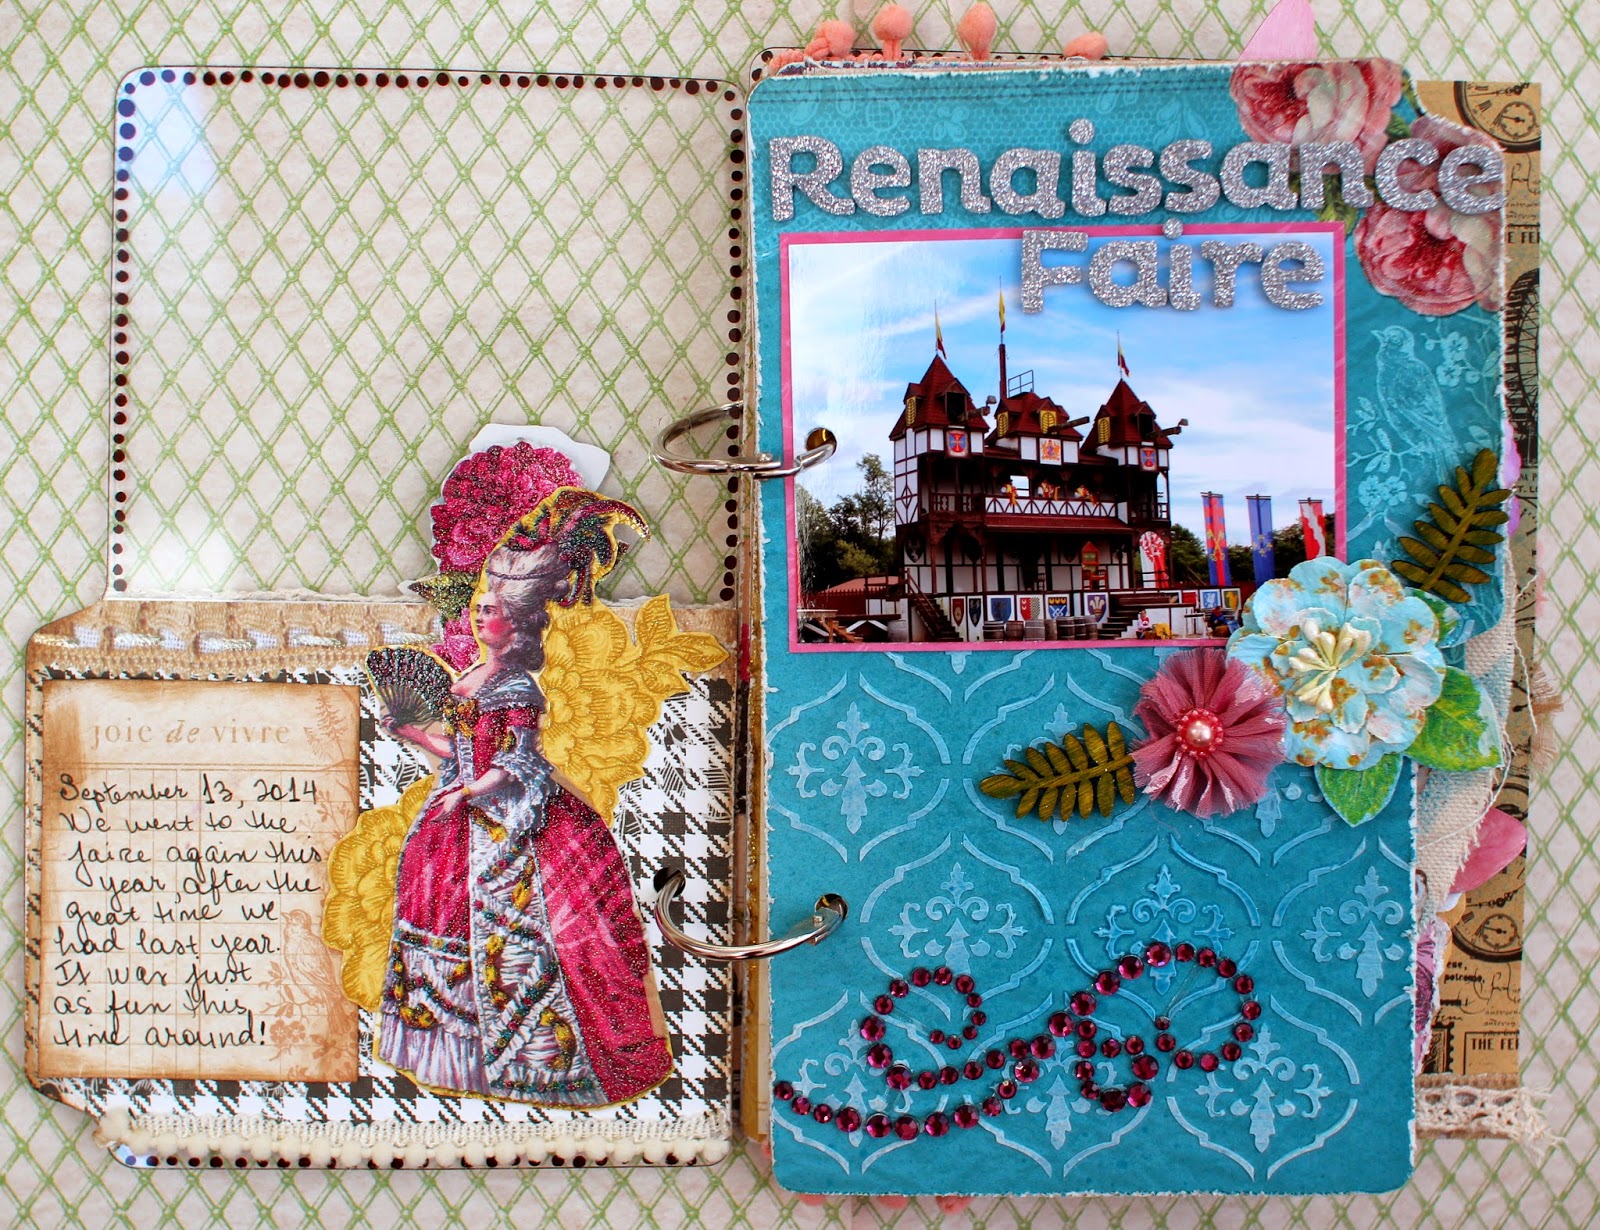
Here, I used my new BoBunny brocade stencil and white molding paste to add a raised pattern to the page. I then misted it with Tattered Angels mist that matched the page color, to make it blend in better:
 
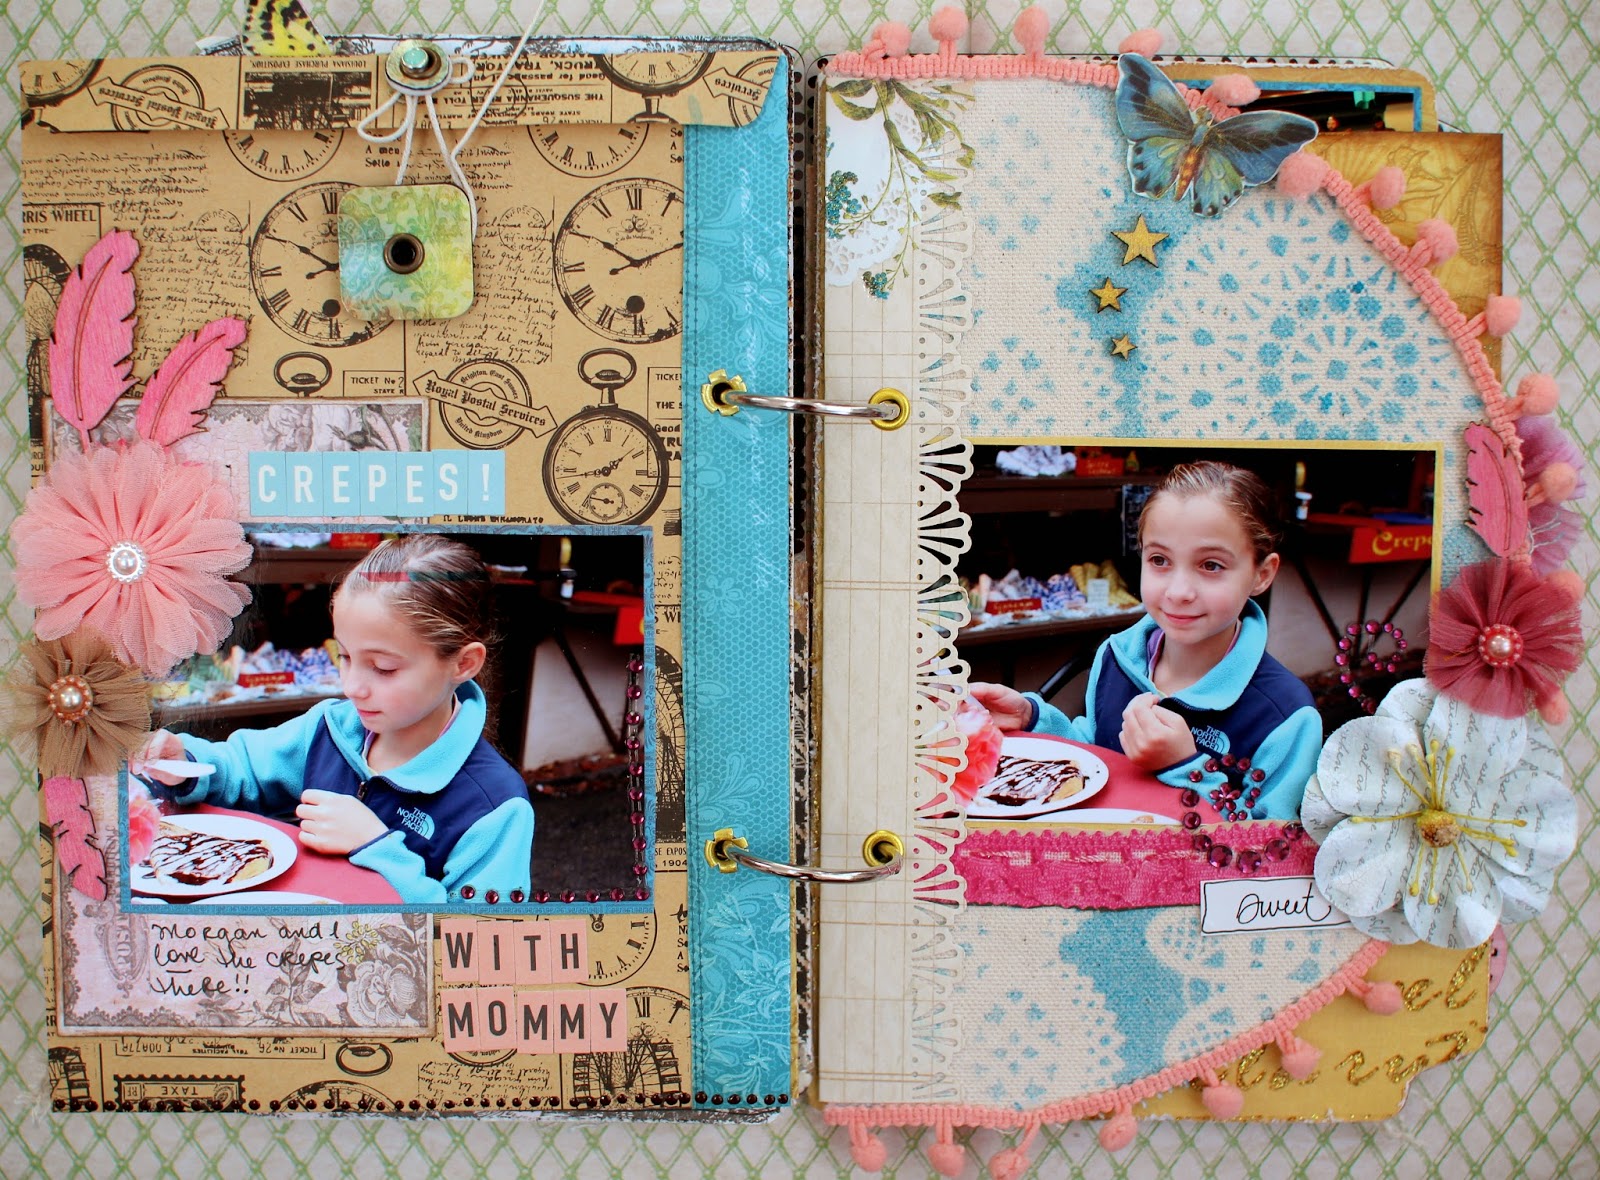
Here, I used gold Smooch inks to color the "sun" and clock wood embellishments. I also used a stencil and blue Tattered Angels spray to add the pattern onto the canvas page. Since I was working with canvas, I punched a pretty border out and added it to the page before inserting the gold eyelets - that ensures that the material won't shred or fray:
 
Some more colored wooden leaves here, and more of the dots that I made with a brown Pearl Pen. I also added some white Tim Holtz crackle paint to the flowers:
 
Here,  added a BoBunny kraft paper bag and misted it with some of the blue spray, which I also used to mist the white patterned page. Inside, I'm going to keep the booklet that was the guide to the faire - it had the map, activities, etc:
 
Here I colored the wood embellies with some pink Smooch Ink. And more misting for the canvas page, using BoBunny doily masks! To hold the envelope closed, I used a Basic Grey closure (I think I've had that for about 10 years now... LOL):
 
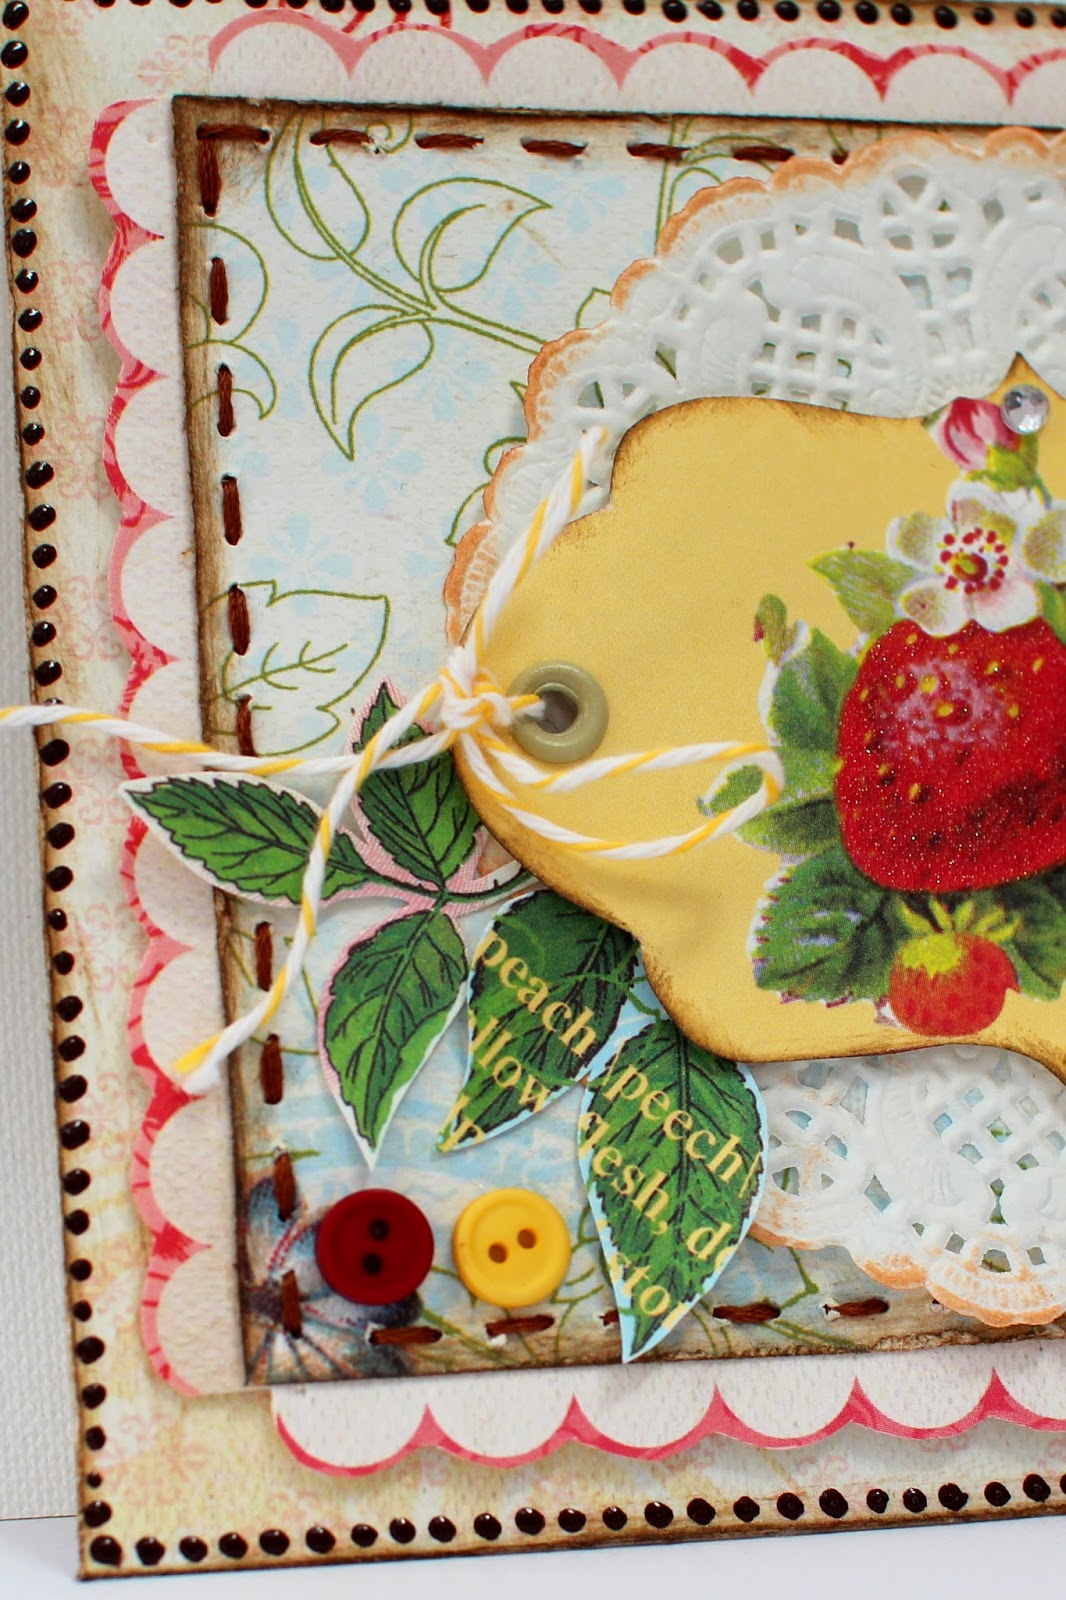
As you can probably see, I distressed all the edges throughout the album and did a lot of inking to add to the vintage feel. And lots of ragged little flowers and lace also help that effect:
 
More stencils here! I used the new BoBunny "script" stencil from the Brocade set to add this gold lettering, which I used the BoBunny gold Glitter Paste for. It creates these really cool gold raised letters that are also glittery. I love how defined they are:
 
More dots, crackle paint, and gold smooch inks:
 
And for the last page, some artsy misting, and a really old metal charm.. probably had that for about 10 years now as well... so nice to free up some space for new supplies :)
 
Please check back in tomorrow... I'll be sharing a new LO about my son's first day of KN this year! Time flies...

Tuesday, October 14, 2014

Is it winter yet?

Because I'm ready for some wintery pics and layouts! I won't lie, I do love snow and snowflakes, and all that good stuff. So I was in the mood to scrap a picture of the kids with their snowman a couple years ago. I used the gorgeous "The Four Seasons" stack from DCWV and a few other things from my stash. Some of them were pretty ancient, like that transparent snowman from Tattered Angels. I love mixing some older stuff with newer stuff - makes it look fresh again, and it's fun clearing up space for new supplies :)
 
Be sure to read to the end of the post - I made a card with the "Four Seasons" stack as well that I'm sharing today. And... stop by tomorrow because I made a mini album I really love, using the gorgeous DCWV "Mademoiselle" stack... I used a Punky Sprouts mini with all sorts of funky pages to scrap our trip to the Renaissance Faire this year. I'll schedule it to go live early tomorrow morning!
 
 
I used the winter paper and the valentine's day paper from the stack for this layout, as well as did some misting, added dots with a Pearl Pen, and even a tiny little light bulb embellie for the chipboard lantern. So fun!


And here is the card. (Ok, the cardfront... still have to glue it on a base LOL)
 
I added some more dots, and did hand stitching, and lots of inking again. Also lots of dimensional adhesive to make things pop a bit more. I just love how a lot of the DCWV papers are glittered or have other cool effects - these butterflies were, for example, so if you fussy cut them out, they're ready to go embellies!


Saturday, October 11, 2014

BoBunny altered frame

I have a little frame I altered using the BoBunny "Enchanted Garden" collection. The frame is one of those little canvases you buy for a dollar that's pre-printed for the kids to paint on. Once your kids are done with it, you can re-purpose it for your own scrapbooking purposes :)
 
 
This is the back of it, and the sides are painted with teal acrylic paint:
 
I painted the frame teal, and then used crackle medium, and then painted over it with white - that way you get the crackle effect of the teal underneath. I added glossy crackle accents to the butterfly wings - they're kind of vintage looking this way, with the glass crackle effect.


Friday, October 10, 2014

BoBunny layout

Somehow I forgot to post this LO on my blog... I made it this summer. It's using the BoBunny collection "Somewhere in Time" - I just LOVE this paper! The images are so cool and so steampunk. And the colors are really gorgeous. I also used BoBunny flowers and crystal flourishes, and some of the embellies are from the "Zip-A-Dee Doodle" collection - so many of the collections really coordinate well together.


Thursday, October 9, 2014

BoBunny altered mixed media notebook

Today, I'm sharing a notebook I made using BoBunny papers and mixed media supplies. If you want to see step-by-step instructions and full list of supplies, they are available HERE on the BoBunny blog. 


Wednesday, October 8, 2014

BoBunny vacation layout

Hi guys, here's a companion layout to the one I made of DH (if you scroll down, it's a couple posts below). This is one of me in Egypt. I used the BoBunny "Souvenir" collection papers, stickers, and chipboard, as well as the new Double Dot Jewels and the new BoBunny mists.


Tuesday, October 7, 2014

MiscMe Vacation mini album!

Are you guys ready for a picture overload?? I used a MiscMe 8x9 binder to scrap our trip to the Dominican Republic last November 2013. I'm really not into "project-life" type scrapping where you do a layout per week... too much pressure. But I do love mini albums about trips and such, and this was perfect since I had SOOO many pics from the trip that they would have been hard to fit in a regular mini album.
 
I used the BoBunny "Modern Miss" MiscMe inserts that were perfectly shaped and sized for the divided page protectors. I also used Modern Miss embellies such as stickers and chipboard. And I added some things from my stash - some of the stuff is super old, like the Making Memories vacation transparencies I added, and the Fiskars rub ons... I probably had both of these for almost 10 years now. But they still looks great! If you want to use old supplies, just mix them in with newer stuff and it really freshens them up and they still look great.
 
I kept the cover plain so I can slide it on a shelf between other albums, and on the side (which is the only part that will be visible once it's shelved), I added "2013". Ok, here goes :)


I hope you guys enjoyed the album! And be sure to check back the rest of this week - I will be posting various projects all through the week.