The DT took a blog break for the holidays, but now I'm back with another 3Birds project. I so love being on their DT, and they're amazingly generous with their products. So here is my 3Birds blog post today:
I wanted to start the year off with a "before and after" LO. I know many people are simple scrappers, but that is certainly not me LOL I can't stop adding stuff until it finally feels "finished" and it usually takes a lot of adding before I get there.
So here is a LO I did...

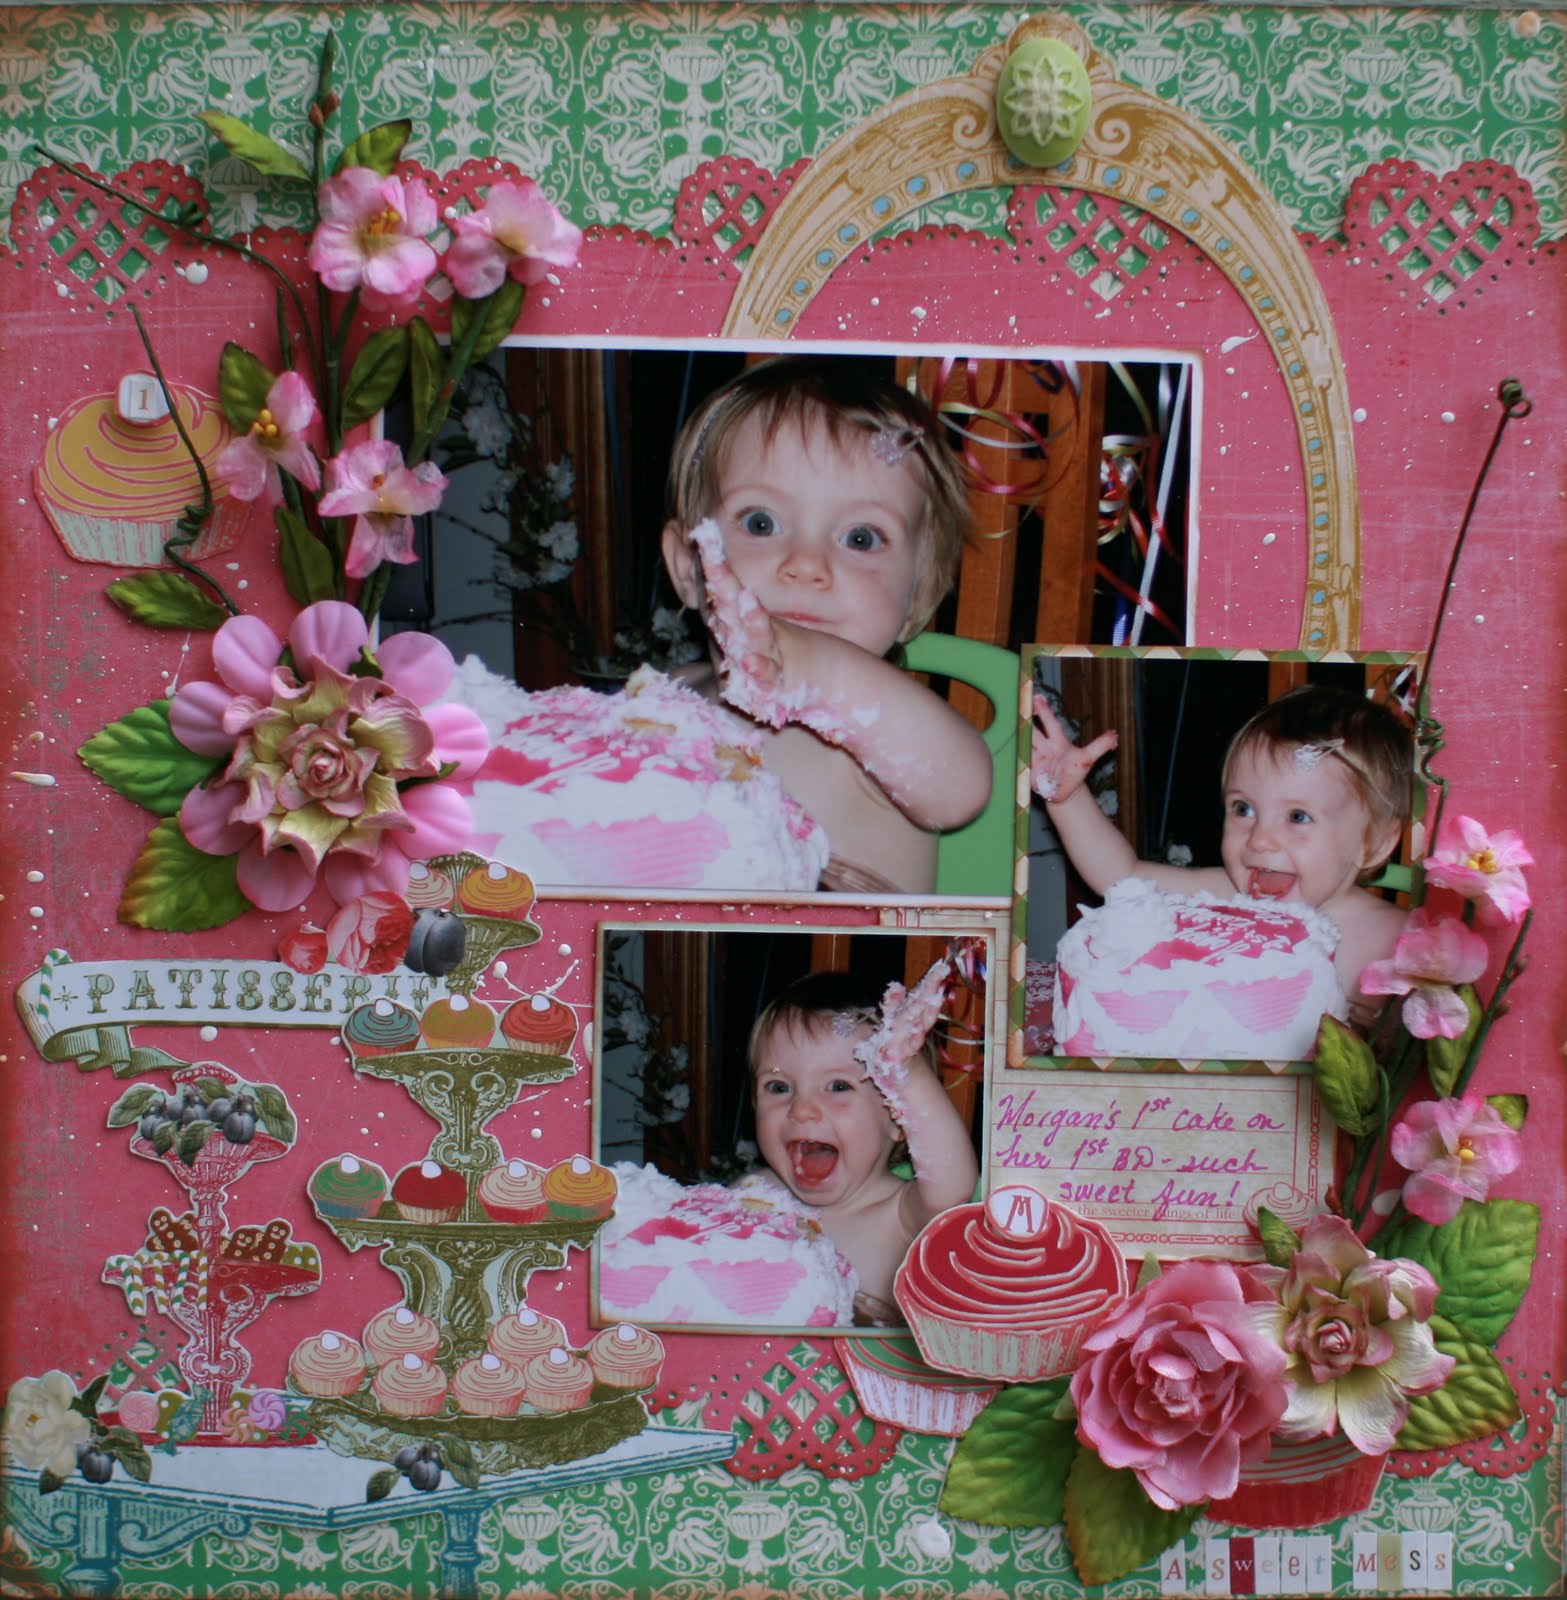
You can see that it already has a lot of stuff on it, but after looking at it for a little while, I decided I couldn't leave it alone and I needed to do some more stuff to it before I could let it go. I had the perfect solution right at my fingertips - the 3D Embellishment box, of course! The fastest way to add cute, dimensional elements. I also wanted some more color and to fill the white space (I;m not big on white space), so I got my pink Glimmer Mist out and gave a few quick spritzes. If you try this after you already added a pic to the LO, make sure you use a scrap piece of paper to cover the photo. So here's the end result:

I bet some of you might actually prefer the 1st one, but I like the 2nd one better - it fels less "boring", and there's more to look at. I also hope it shows you should never be afraid to do stuff to your LO - if you don't like how it looks, it just means it isn't finished yet. You can keep adding and subtracting stuff until you get it right. Yesterday I made a LO with some leaves on it, and after a while of looking at it, I decided they were the wrong color. So I forcefully ripped them off, glue and all, and added different ones. So I'll leave you with a motivational quote to keep in mind next time you're scrapbooking: "If it isn't right, it isn't finished" :)
Supplies:
Paper: Focus on Fotos
Carsdtock: Straight From The Nest Must Have Cardstock (Jewels)
Die Cut Snowflakes and Purple Swirls: All Dressed Up Again (just cut out the elements you need from the die cut pp)
Stickers: 3D Embellishment Box
Felt and Cloth Flowers: Garden of Flowers
Die Cut Quote: Opposites Attract (Winter)